Cheesecake is easily one of my all time
favourite desserts. The first time I ever made it was a few years ago
and I used a recipe by chef John from Foodwishes that has since
become my go-to cheesecake recipe as it needs absolutely no changes
or improving. I fell in love with the taste and texture and to this
day I prefer to make my own cheesecake rather than buy one (but I
guess that's the case with most desserts).

The thing with cheesecake is, though,
that it's not the easiest dessert to bake perfectly. Considering how
easy the batter is to make, there is a surprising number of things
you can do wrong. One of the most common problems you can encounter
is a nasty crack in your cheesecake which can occur when you overmix
the batter, bake it at a higher than recommended temperature, open
the oven door at the wrong time, not let it cool in the oven et
cetera et cetera et cetera. Even when you take every precaution
possible, you might still get a crack, which is exactly what happened
to me every single time I made cheesecake. This is how it'd usually
go: I put the cheesecake in the oven, for a while nothing happens,
next thing I know it's rising like crazy (making it look like it has
tumors), cracks and then deflates.
Deflating usually somewhat conceals the
cracks or at least makes them look smaller, but that's not what
you're going for. I wanted a perfectly smooth cheesecake. So this
time I decided I'd try something else, and given that pretty much
every baker suggests using a water bath, I thought I'd give that a
try.
What most people do is wrap the spring
form pan in aluminium foil to prevent water leaking into the pan. So
I wrapped it in several layers of aluminium foil, put the pan in a
larger pan and fillied it with water. I was a bit sceptical, but when
I saw my cheesecake baking more evenly that I could possibly hope
for, I was impressed to say the least.
Everything was looking great. I waited
for it to cool before I took it out of the oven, then proceeded to
remove it from the water bath. This is when the trouble began. As I
started removing the foil I realised it hadn't prevented the water
from leaking. I removed the pan ring and was very unhappy to see that
the crust was all soggy. It did't look too apetizing either and I
knew I could never eat or serve it like that. My first instinct was
to google „cheesecake waterbath fail what do i do“ but none of
the suggestions I could find online was very helpful.
Luckily, I can say I'm a resorceful
person and am generally good at fixing things. So I covered the
cheesecake with parchment paper, flipped it over onto a plate and
then carefully put it back into the pan, crust facing up. I put it
back in the oven and baked it at 180°C for additional 10 minutes. It
came out just perfect, the crust was crunchy and all the excess
moisture was gone. I let it cool again, then it was finally ready for
refrigeration.
I have to say I'm quite proud of my mad
MacGyver skills that saved this weekend's dessert. In the end it was
one of the best cheesecakes I've ever made taste-wise and definitely
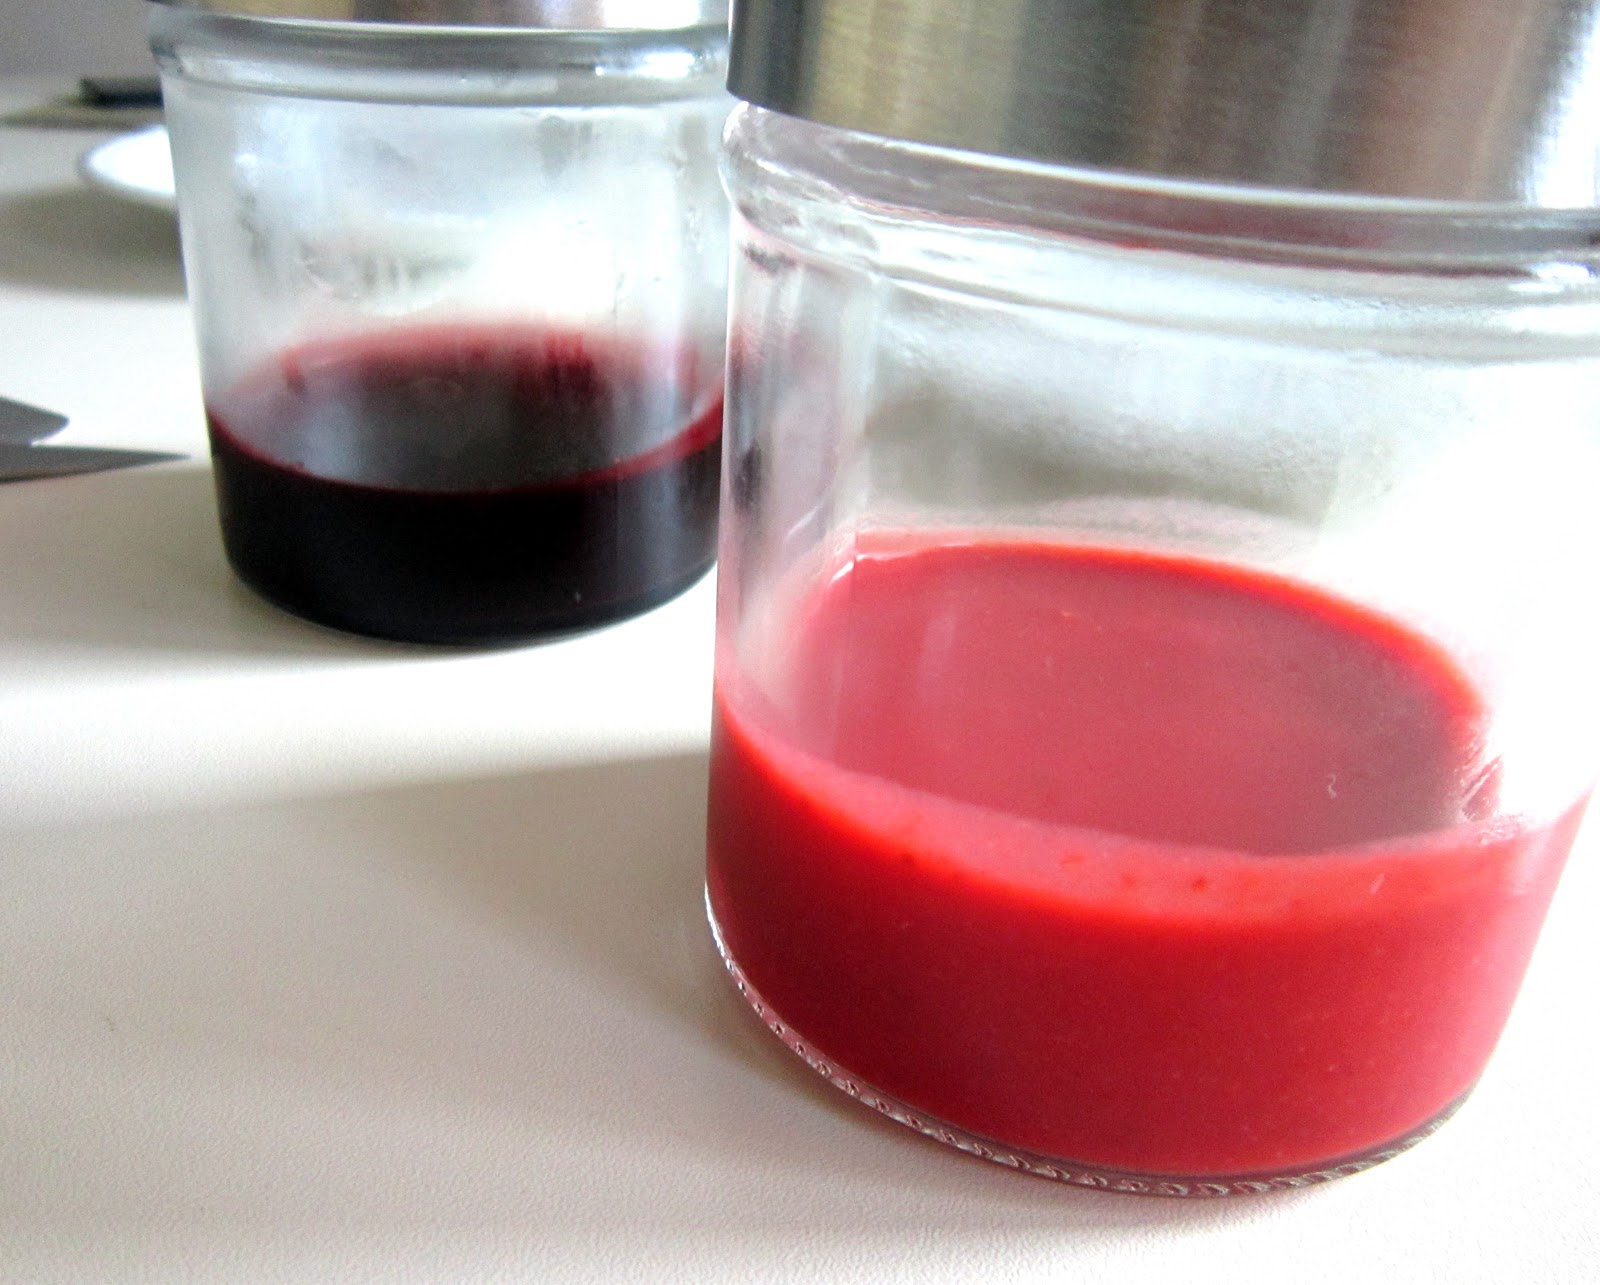
my best one in terms of looks. I served it with two different kinds
of sauce (strawberry and blueberry, both very good, even if I say so
myself) and fresh blueberries.
So, is the water bath worth the hype?
Well, it definitely does what it says it would – makes the
cheesecake bake evenly. My problem was that the foil wasn't large
enough and I don't think any number of layers would have kept out the
water. In the future I'll either find a larger roll of aluminuim foil
or use a smaller pan, but all in all I'd rather have a crack (which
in the words of chef John can be used as a cutting guide and can in
fact be quite convenient) than a soggy crust.
I definitely recommend you try chef
John's recipe as it's by far the best cheesecake I've ever tried and
I never got anything but compliments for it. Note that when using a
water bath,though, it does take longer to bake; I baked mine for
around 90 minutes.
Happy baking!


No comments:
Post a Comment